Thanks to Apple’s ‘Boot Camp Assistant’, install Windows 10 on Mac is usually a relatively easy and painless process. However, things seem to become much tricky when you want to remove the Bootcamp portion after High Sierra update.
If you are like me, you want to delete BootCamp portion and reclaim all space for Mac again. Here is what you should do.
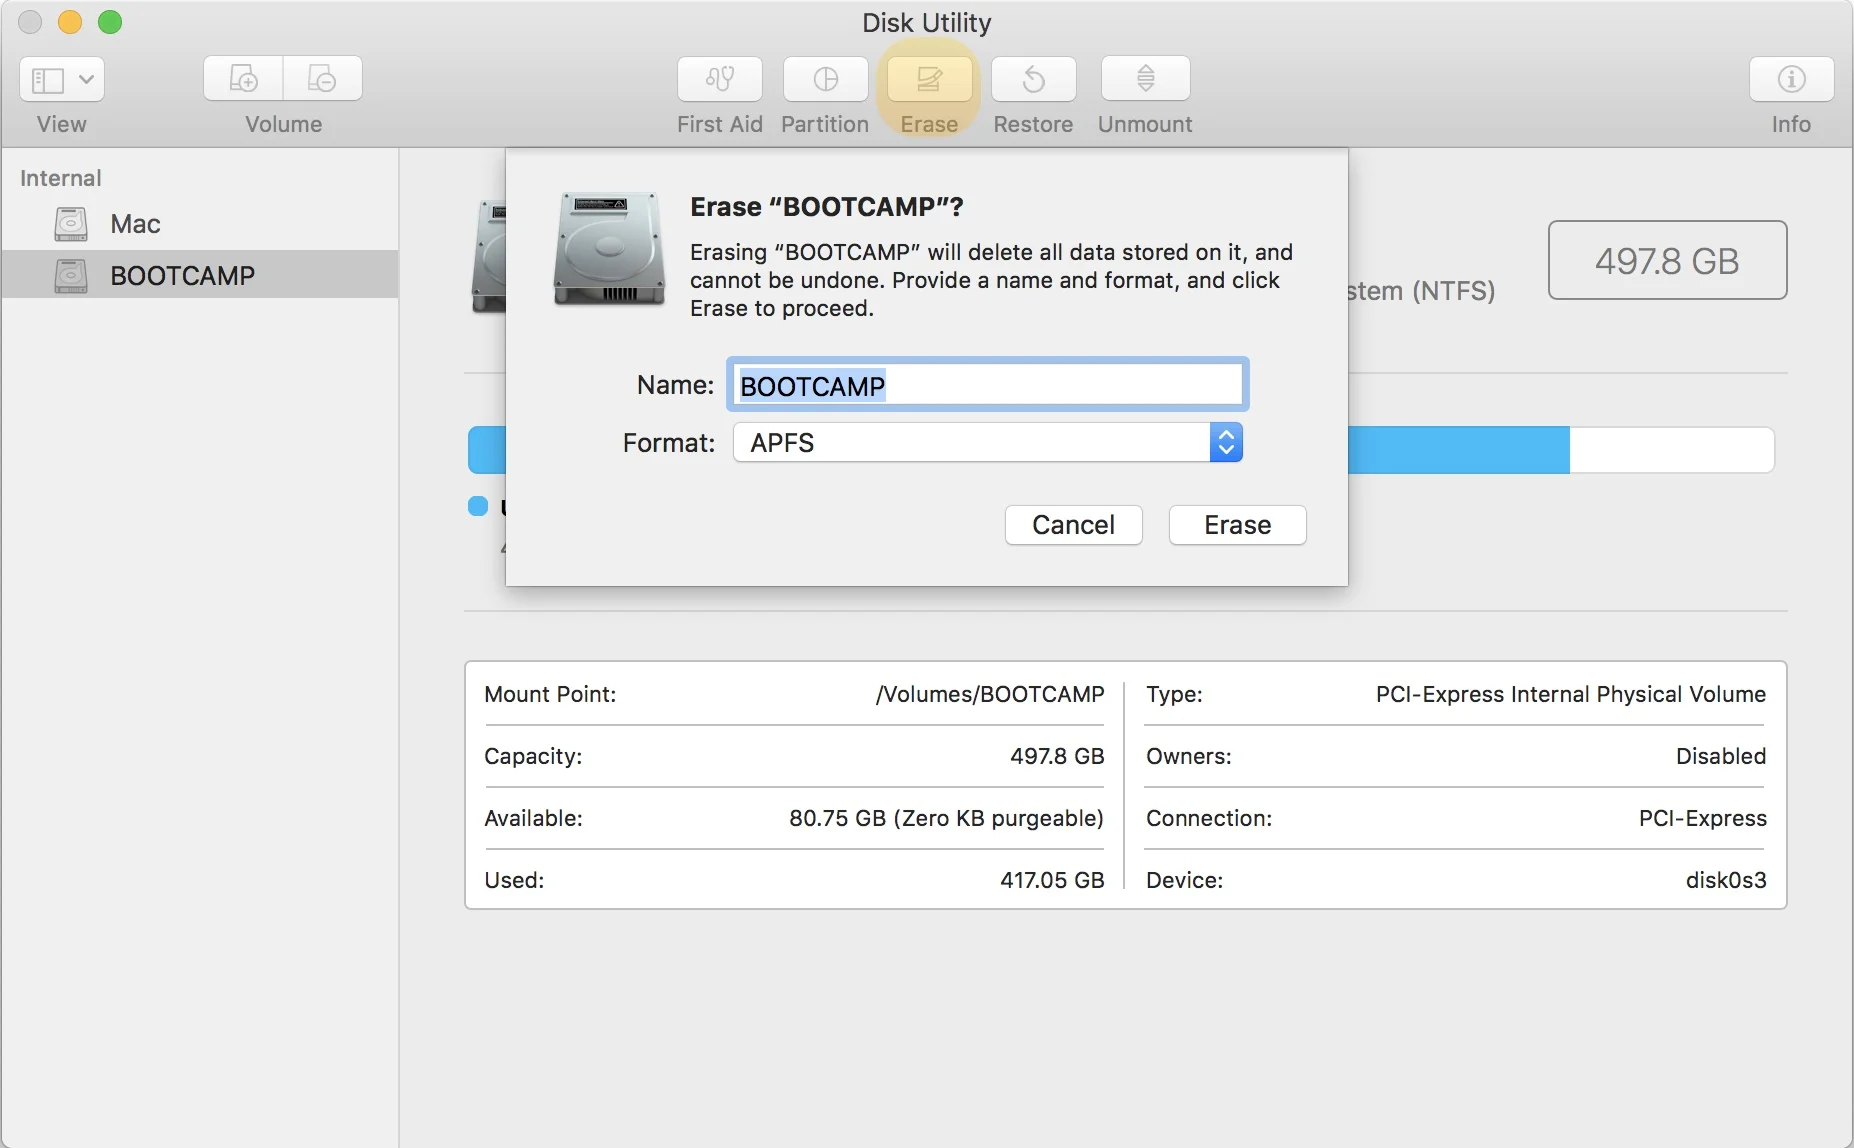
1. Start ‘Disk Utility’ app - Select ‘BOOTCAMP’ - Click ‘Erase’ button on the toolbar- Set the ‘Format’ to be ‘APFS’ - Click ‘Erase’ button on the popup.
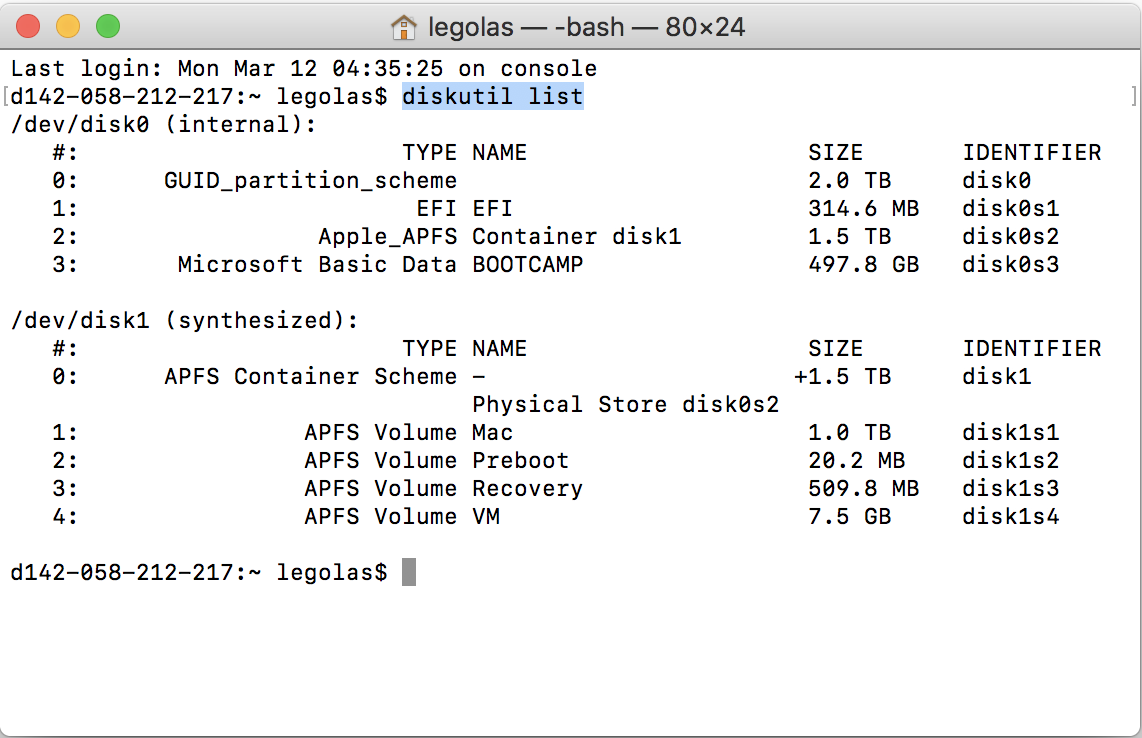
2. Start ‘Terminal’ app - Type in ‘diskutil list’. This command will display all disks on your Mac - Press ‘Return’ on your keyboard - You should see something like these - Write down the ‘IDENTIFIER’ of your ‘BOOTCAMP’ disk - Mine is ‘disk0s3’
3. Continue in ‘Terminal’ app - Type in ‘sudo diskutil eraseVolume free none disk0s3’. This command will free the space from the ‘BOOTCAMP’ disk - Press ‘Return’ on your keyboard - Wait until its finished
4. Continue in ‘Terminal’ app - Type in ‘sudo diskutil apfs resizeContainer disk0s2 0’. This command will reclaim all the free space to your currently Mac disk - Wait until its finished
That’s it! Now you’ll have a single Mac disk just like the day you purchased your Mac.
Help Me Out. If you are afraid to do it yourself or don’t want to waste your time inline with the Apple Store, I can help you out with a small tip. Refer to ‘Service’ section for detail.